Top suggestions
Assembly & Disassembly
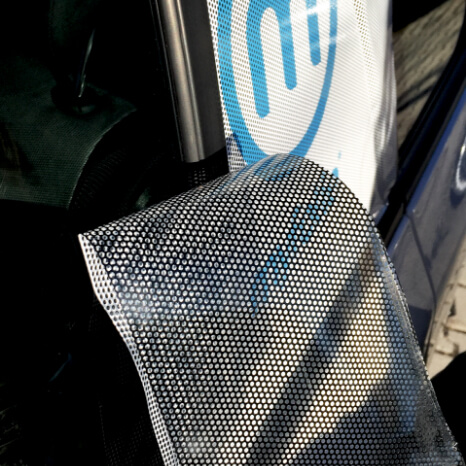
Simply mount the perforated foil: The perforated foil is delivered ready for installation. There is no transfer tape on the film, please do not try to remove the glossy protective laminate of the perforated film under any circumstances, as it is decisive for the product's durability and quality. As the perforated film is perforated, it can only be dry bonded, otherwise the liquid will collect under the protective layer and cannot dry.

You will receive your foil rolled up, padded with bubble wrap in one package. Roll it out and lay it flat on a flat surface (longer storage is not recommended). Check the package contents for completeness, integrity and correctness.

Helpful for assembly are e.g: cloth and rag, squeegee, painter's crepe, yardstick & cutter
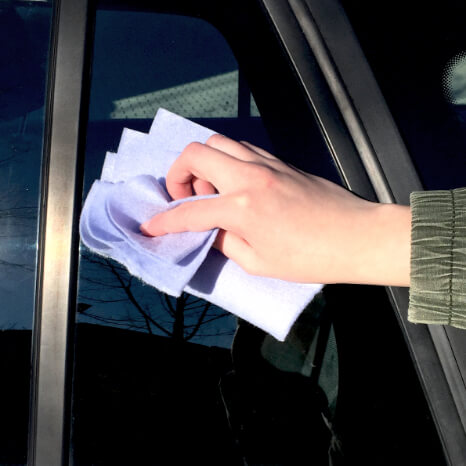
Clean the surface to be bonded carefully. The surface must be free of dust and grease. Isopropanol is usually suitable for degreasing.
Important! Test first on a non-visible area to see whether the surface can tolerate the agents!
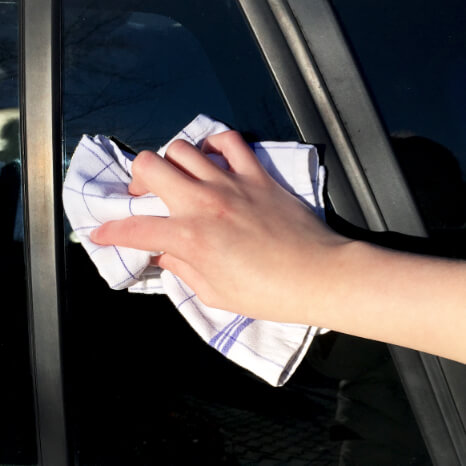
The surface must be free of any residues. Clear water is suitable for this, depending on the substrate. The substrate must be dry before gluing.
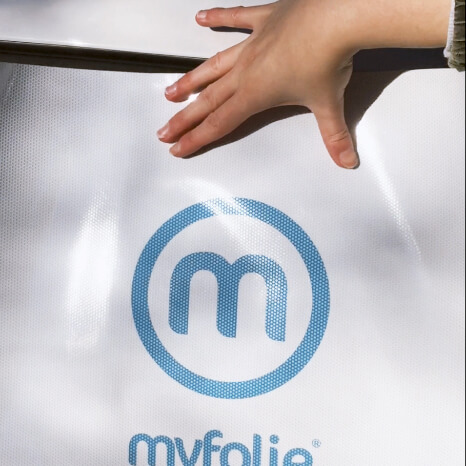
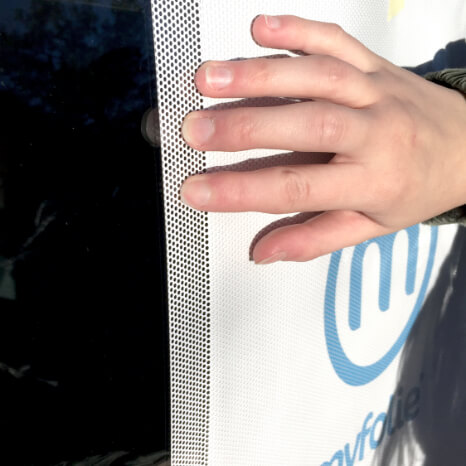
Apply the film first at the point where it is to be bonded later. Especially with larger foils, a helping person is recommended for the following gluing.
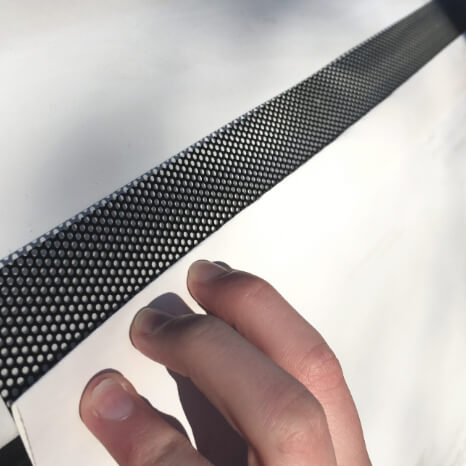
Smooth the film thoroughly on a flat and clean surface. Then bend the edge of the backing paper sharply.

Carefully apply the film to the desired surface, adjust it and fix it with masking tape as required.
If the film is lying as desired, the adhesive edge must now be pressed on.
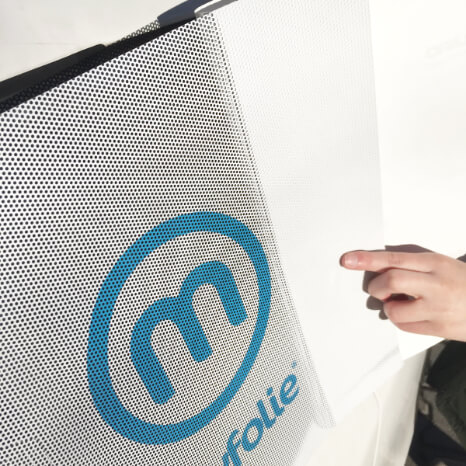
Remove any crepe tape that may no longer be needed and carefully remove the backing paper step by step at an acute angle to the rear. At the same time, carefully and step by step, press on the released foil.
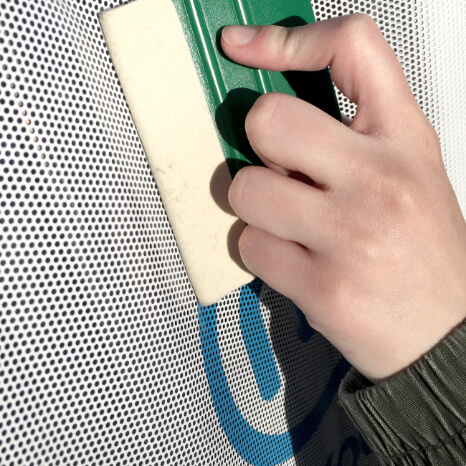
Work the film well into edges and firmly stroke any bubbles that may be present outwards with the squeegee. Press the entire film firmly once again.
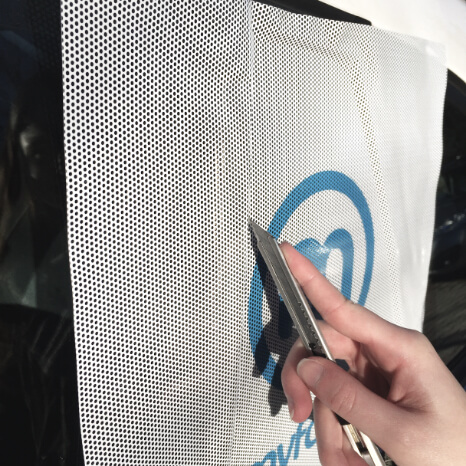
Now cut off the excess foil very carefully and with great feeling.
Important! It is essential to ensure that the surface to be stuck on and the substrate are not damaged under any circumstances.
Carefully and gradually remove the separated foil residues.
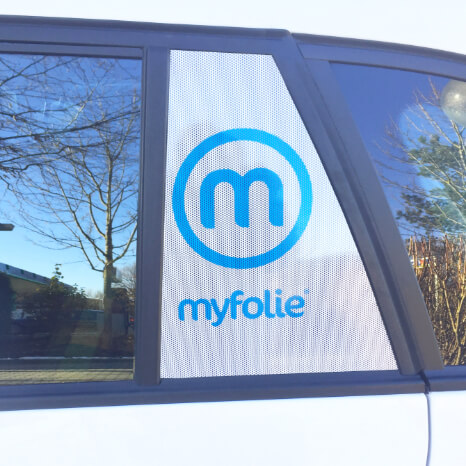
Ready! Have fun with your bubble wrap.
More help
Assembly & Disassembly
Assembly & Disassembly
Assembly & Disassembly
Assembly & Disassembly
Assembly & Disassembly
Assembly & Disassembly