The squeegee - simple, fast and cheap
You have ordered a film from us and you are missing the right tool for application? The easiest and cheapest solution is the squeegee. Reusable at any time.
Which squeegees are available?
We have a plastic squeegee, which you can either buy in the "Accessories" section or directly when completing your order. With this squeegee, you can apply your film to the desired surface and eliminate annoying bubbles under the film. Whether on your living room wall, your car, or a shop window. It does not matter whether you want to apply an adhesive film or lettering.
This is how you mount your film correctly with a squeegee:
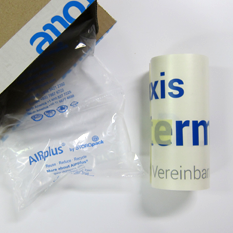
1. You receive your film rolled up, padded with bubble wrap in a package. Unroll it and lay it flat on a flat surface.
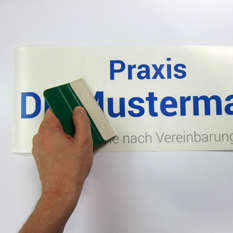
2. Stroke the surface firmly to press all the letters back onto the transfer foil. Repeat this on the reverse side as well. All letters will now adhere to the transfer foil.
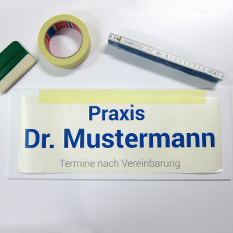
3. Fix the foil in the correct position with a strip of adhesive tape (e.g., Sellotape, masking tape) on the upper edge. You can check the position with a meter stick.
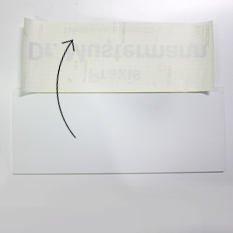
4. Fold the entire foil upwards so that the motif is upside down. You can now see the back of the foil (the backing paper).
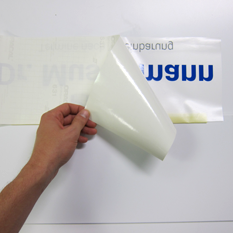
5. Remove the backing paper at an acute angle. Now expose the adhesive side. (If the letters do not yet adhere to the transparent transfer foil, press them down again.)
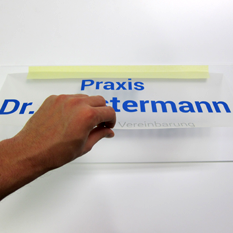
6. Fold the foil back down. Make sure that the adhesive foil does not stick unintentionally. Keep it taut and lay it flat on the surface.
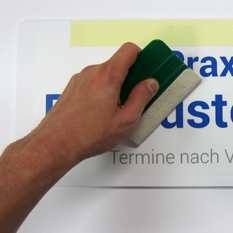
7. Stroke the transfer foil firmly and evenly with a squeegee or similar application aid from top to bottom. You press the letters with the adhesive side to the surface.
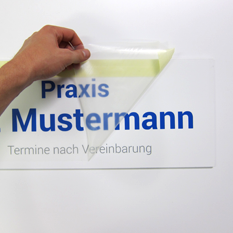
8. Now carefully (not too quickly) pull off the transparent transfer foil again. Make sure that all letters are detached from the transfer foil and stick to the surface.
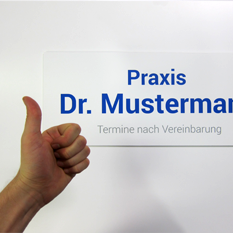
9. Finished! Check if all letters stick well, and your lettering is complete!
You can also access the assembly instructions at any time on our homepage.
Inspiration, creative ideas and tutorials
In our blog we provide tips and tricks on the subject of adhesive films, stickers and advertising technology.
view all postsRelated Posts
Related Products